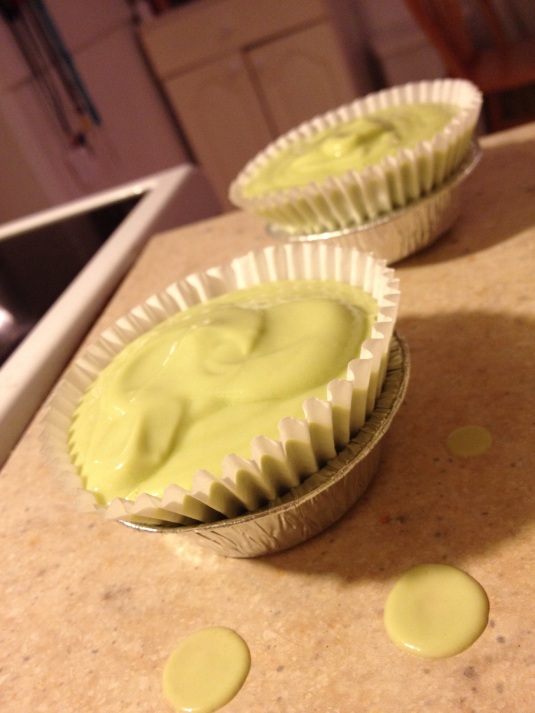
Avocado cream pies

It’s been a long time since my last post – since May! I just gave up on it for a little while; blogging is a lot more work than what it looks like. But, I really had to post this because avocado is the best thing EVER.

There were all these avocados sitting around ripening faster than I could eat them so I decided to make something. I thought, since avocados are green, I could make key lime pies. A traditional key lime pie contains milk, cream and eggs, but my pies are 100% vegan! The first time I tried this recipe I used lemon juice and the pies turned out just as good. As a warning, they turn out quite sour! If you like them sweeter, feel free to add in your desired amount of sweetener (I only used 3 packets of stevia).

This makes a small batch; just big enough for 5 people.
And here’s the recipe:

INGREDIENTS
2 ripe avocados (about 200g)

1/2 soy yogurt, or other non-dairy yogurt, or dairy yogurt

1/2 tsp vanilla extract

Zest from 1 lime

1/2 cup non-dairy milk (I used almond milk)

2 1/2 tsp agar agar powder (7g), or 1 envelope gelatin for non-vegan

1/2 cup lime juice (I used lemon my first time)

5 graham crackers, crumbled

DIRECTIONS
1. In a blender, process the avocado, yogurt, lime zest and vanilla. You can add the sweetener at this stage as well.

2. Sprinkle the agar over the lime juice and mix until combined.

3. Bring the milk to a boil, then take it off the stove. Then, pour the hot milk into the lime-gelatin mixture and whisk until everything is combined.

4. Pour the milk mixture into the blender and pulse one more time to make sure everything is mixed well.

5. Set up 5 muffin cups. Take the graham crackers and crumble them as small as possible. Then, divide the crumbs among the muffin cups evenly.

6. Pour the avocado mixture into the muffin cups over the cookie crumbles.

7. Transfer pies to the fridge to chill for 2-3 hours. And, you’re done!

20140219-121325.jpg

This recipe was adapted from: http://www.californiaavocado.com/recipe-details/view/31647/california-avocado-yogurt-key-lime-pie
Chocolate fudge

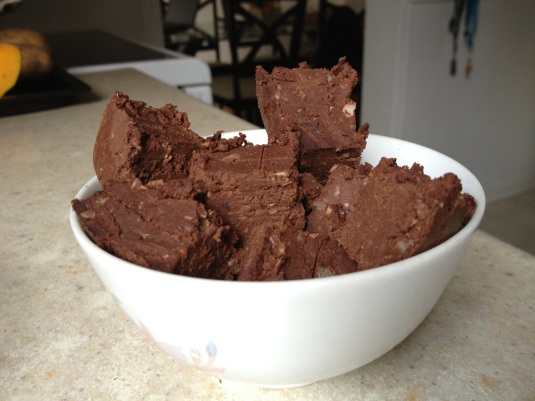
Diet, Desserts and Dogs is just an amazing blog for healthy allergen-free food! This recipe for fudge is taken from the blog as well. My version used black-eyed peas and all cocoa powder while her recipe used black beans to give the fudge a darker colour.

INGREDIENTS
30g unsweetened chocolate, finely chopped (or melted)

1 and 3/4 cups cooked beans

3 tbsp coconut oil, melted

4 tbsp nut butter (I used macadamia butter)

1/2 cup + 2 tbsp cocoa powder

2 tsp vanilla extract

3 packets stevia (or 2 tbsp agave)

Pinch salt

DIRECTIONS
1. Line a loaf pan with wax paper and set it aside.

2. In a food processor, combine all ingredients except for the unsweetened chocolate.

3. Then, add in the chocolate and blend again.
For me, the mixture became too thick to blend, so I did this step by hand.

4. Put the mixture into the loaf pan and press down to take out any air bubbles.

5. Cover the pan and let it set in the fridge for about 2 hours or overnight.
After it has set it can be sliced into squares and should be continued to be stored in the fridge until consumed.

20130430-235334.jpg

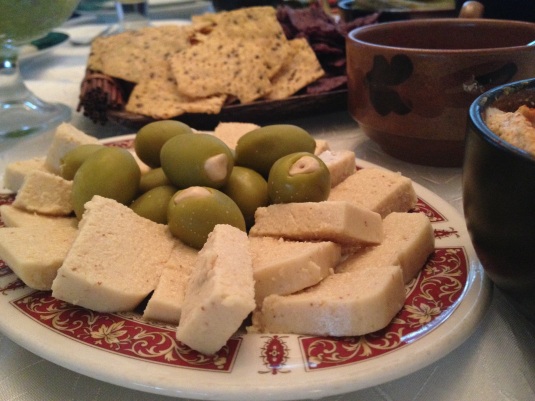
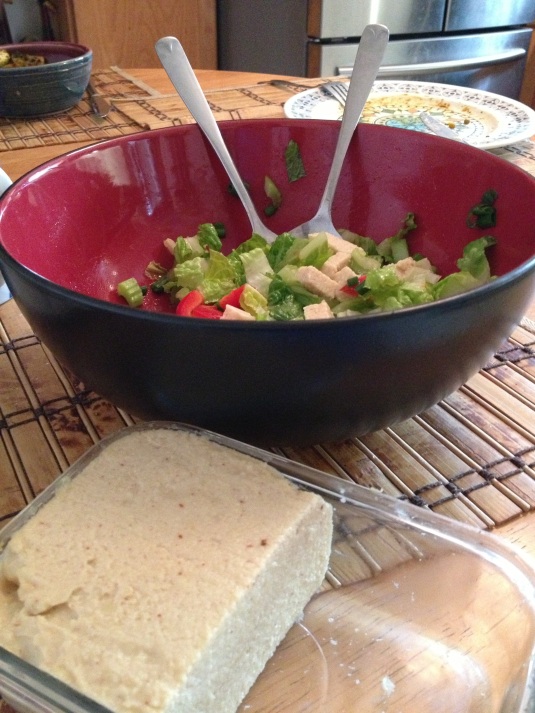
Cheeseee!

I made a huge salad yesterday and I wanted to add something more to it. So, I found this vegan cheese recipe from Diet, Desserts and Dogs. Some of the ingredients were adapted as I didn’t have everything on hand. I think that any sort of spice can be added to the cheese to make different flavors.
It doesn’t really taste like swiss cheese, more like a savory jello-type food, but it’s good either way!

INGREDIENTS
1 and 1/2 cups water

5 tbsp agar powder

1/2 cup cashews

1/4 cup nutritional yeast

3 tbsp lemon juice

2 tbsp tahini

1 tbsp + 1/2 tsp dijon mustard

1 cup chopped onion

2-3 garlic cloves

1/4 tsp ground coriander

Salt, to taste

DIRECTIONS
1. Combine water and agar powder in a saucepan and bring to a boil.
Then, reduce heat and simmer until the agar powder has dissolved. (About 5 minutes)

2. Combine the rest of the ingredients in a blender and add the agar mixture as well.

3. After blending, pour the mixture into a container and let it cool uncovered in the fridge.
After it has set (about 2 hours), it can be covered.

20130429-185324.jpg

20130429-185347.jpg

Easiest roasted veggies

I’ve often seen rutabagas and fennel bulbs at the grocery store, but i’ve never had the courage to buy them.
Ever since i’ve developed food intolerances i’ve been trying out new foods in attempts to vary my diet. These recipes are relatively simply to put together and not time-consuming. What’s more is that they taste great as a snack or as a side dish for lunch or dinner.

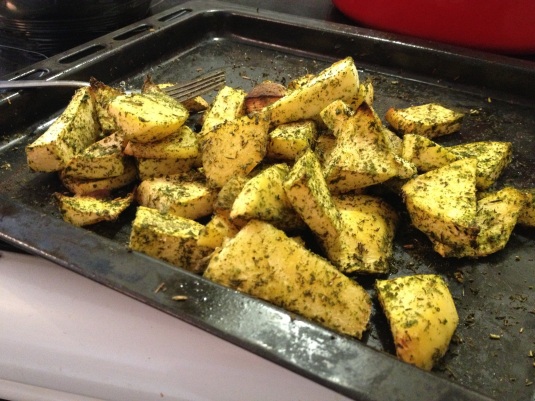
Roasted rutabaga

DIRECTIONS
1. Peel and cut the rutabaga into cubes

2. Grind equal parts rosemary, thyme, and dried parsley with 2 pinches of salt in a coffee grinder to make sure they are mixed well.

3. Spread the rutabaga cubes on a baking tray and sprinkle all the spice blend over top
Drizzle with oil and mix everything up so that everything is coated (I did this with my hands).

4. Bake for about 1 hour at 450 F or until a fork can be easily pierced through the rutabaga.

20130428-173831.jpg

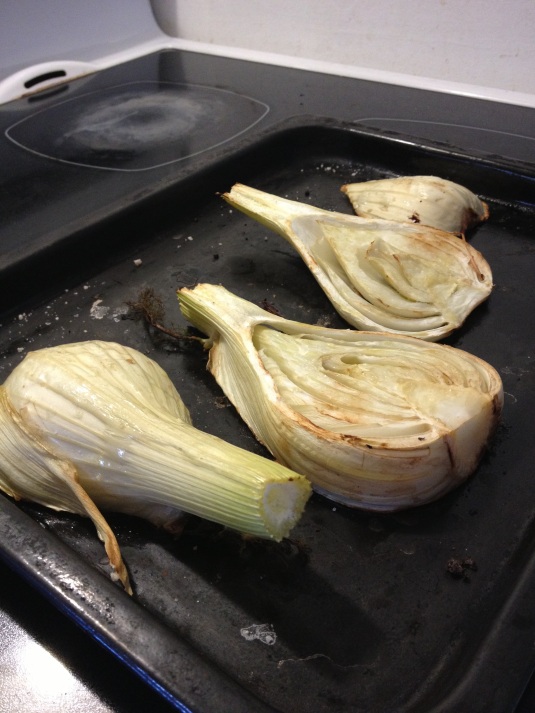
Roasted fennel bulb

DIRECTIONS
1. Cut the fennel bulb lengthwise.

2. Place on a baking tray, sprinkle with salt and drizzle with olive oil.

3. Bake for about 30-40 minutes at 400 F, or until tender.

20130428-174646.jpg

Melon custard

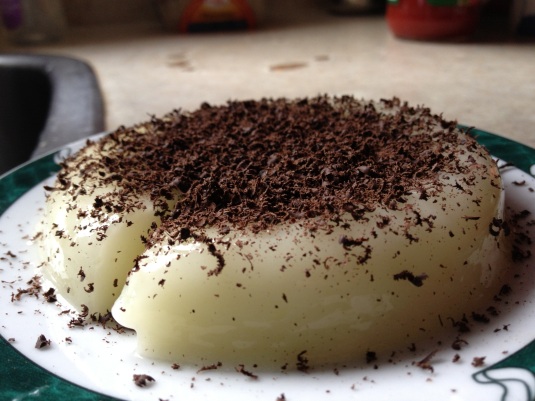
I had this amazing mango custard a while back and I wanted to reproduce it.
Unfortunately I didn’t have any mango at home so I used honeydew melon instead.

INGREDIENTS
2 and 1/4 cups diced melon

1 and 1/2 cups coconut milk

2 tsp agar powder

1-2 packets of stevia (or 2 tsp agave)

3-4 squares of dark chocolate, shaved

DIRECTIONS
1. Blend the melon until it is liquid. Set it aside.

2. Combine the coconut milk and agar powder in a saucepan and bring to a boil on high heat stirring constantly. Reduce heat to medium-low and stir occasionally until the agar has dissolved.

3. Take the milk off the heat and stir in the pureed melon and sweetener.

4. Pour equal parts of the finished mixture into small sized ramekins (this recipe used 4).

5. Sprinkle shaved chocolate over each custard to garnish.

6. Chill in the fridge about 2 hours, or until set.

20130428-105858.jpg

Squash-stuffed mushrooms

I normally eat butternut squash roasted straight out of the oven and sometimes I add some cinnamon to it as well.
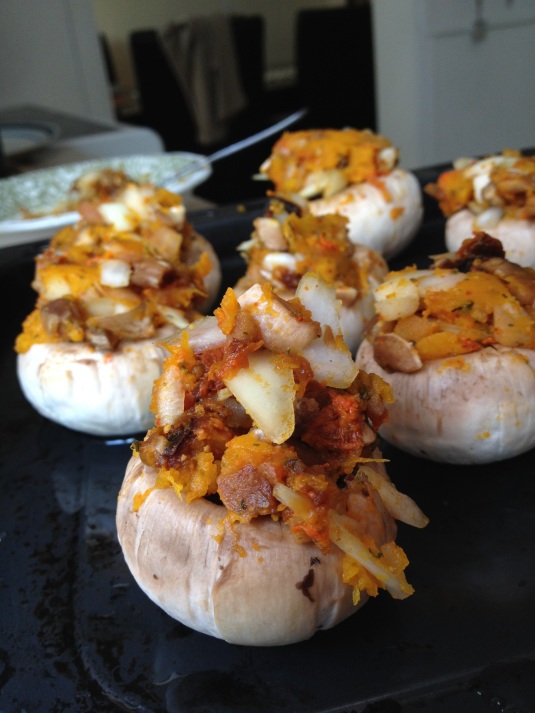
But, this time I wanted something different. So, I stuffed mushrooms with roasted squash and cooked it some more for lunch.

INGREDIENTS
1 medium-sized butternut squash, roasted

About 10 white button mushrooms

1 large onion, chopped

Spices to taste

DIRECTIONS
1. First, cook your squash. I cooked mine for 1 hour at 400 F, but temperatures can vary among ovens.

2. Separate the stems from the mushroom caps and reserve them. They will be mixed into the stuffing.

3. Puree the cooked squash (I did this by hand) and add in the chopped onion. Chop the mushroom stems into small pieces and add those in as well.

4. Season the mixture with your preferred spice blend.
I added salt, dried parsley, dried onion and garlic, dried dill weed and pinch of paprika.

5. Take about a spoonful of the mixture and stuff it into each of the mushroom caps.
There may be some leftover; it can be eaten like that (which is what I did!)

6. Place the stuffed mushrooms on a baking tray and drizzle them with a bit of olive oil.
Place the tray in the oven and cook for 10-15 minutes at 350 F.

20130427-194433.jpg

Raw cheesecake

Cashews!
I would never have guessed that I could make “cream cheese” out of cashews.
And, what’s even better is that cashews don’t contain the animal fat that cream cheese does.
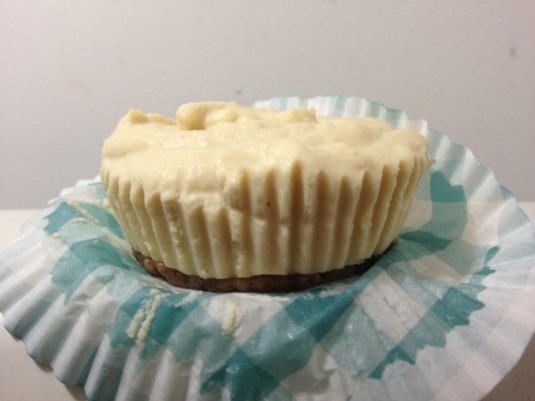
This is the first time that i’ve ever tried to imitate cheese this way after looking a various raw cheesecake recipes on the internet and i’m so amazed how close the texture and the taste comes to the traditional cake. So, healthy food really does taste good 🙂
I made this cheesecake using pineapple, but any fruit will work in the same quantity (1/2 cup).
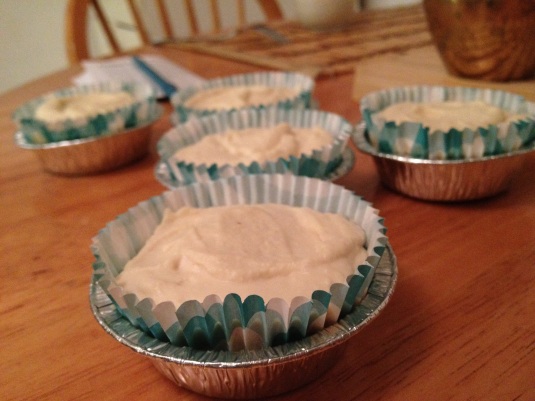
I can be made into individual cupcakes or one larger cake. I prefer the cupcakes because they just look cuter. (My recipe makes about 5 cupcakes)

There is a bit of planning involved here as the cashews should be soaked around 2-4 hours and the cake sets in the fridge in about 1.5 to 2 hours.

INGREDIENTS
For the crust:
1/4 cup raw pecans

3-4 dates

For the filling:
3/4 cup raw cashews

2 tbsp lemon juice

1/2 tsp vanilla extract

2 tbsp + 2 tsp coconut oil, melted

2 tbsp liquid sweetener (I omitted this and used 1 packet of stevia to keep the carb count lower)

1/2 cup pineapple (any fruit works, frozen or fresh)

DIRECTIONS
First, the crust:
1. Process the pecans and dates until the pecans are finely crushed.

2. Divide this mixture evenly among 5 cupcake liners and press down to form the crust.

Then, the filling:
1. Combine all ingredients (except for the fruit) in a blender until creamy.
I used a magic bullet and it worked okay.

2. Add the fruit and blend.
If using frozen fruit, make sure it is soft enough that it will combine with the rest of the filling.

3. Pour the mixture on top of the crusts of the cupcakes.
Even the tops out with a spatula or knife.

4. Refrigerate to solidify for about 2 hours.
They can also be frozen to speed up the process, but I didn’t try that.

20130426-150216.jpg

20130426-150248.jpg

Sundried tomato spread

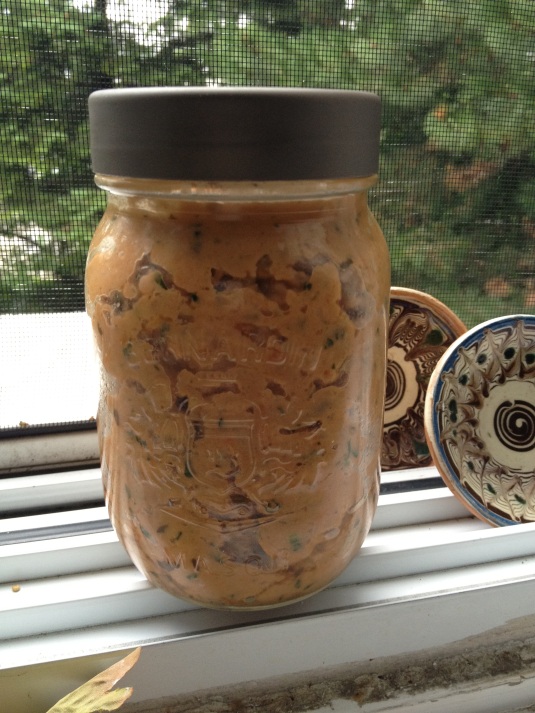
A jar of sundried tomatoes in oil were left over after a get-together a while back and no one in my family touched the jar. It just sat there day after day, so I thought about adding them to beans and making a good sandwich spread or veggie dip out of them. Combining the tomatoes together with the oil they sat in gave this dip a very rich taste.

INGREDIENTS
1/2 cup sundried tomatoes (measured with the oil)

1/2 cup cooked navy beans (or any other white beans)

1/4 cup pitted olives

1 garlic clove, crushed

1 tbsp lemon juice

1/2 tbsp balsamic vinegar

2-4 tbsp dried basil

Leaves from 4 sprigs of parsley

Salt, to taste

DIRECTIONS
1. Blend everything except for parsley and basil. I used a magic bullet.

2. Add the herbs and blend again. The end-product was a bit chunky, but that’s ok. I still tasted good.

3. Place in fridge for an hour for the flavors to develop.

20130426-103838.jpg

Strawberry jam muffins

I’ve had coconut flour in my freezer for a while and i wanted to make something out of it.
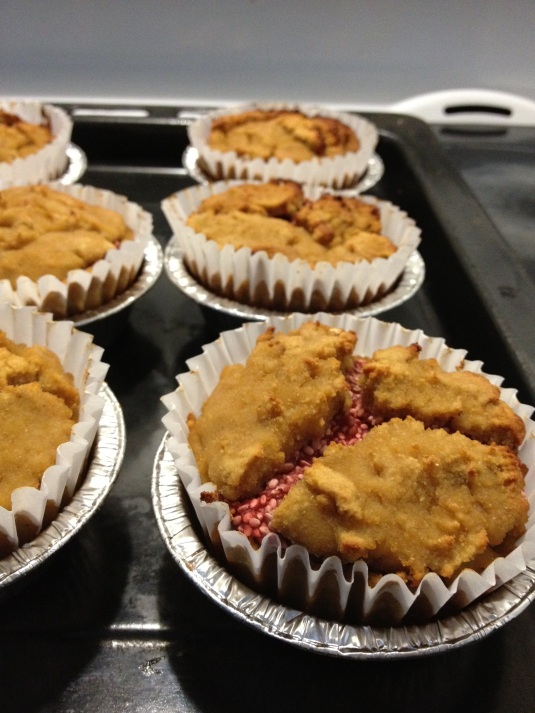
I found this recipe from Powercakes and it looked amazing with the filling. I adapted it to make it without eggs as I can’t eat eggs. So, it’s vegan. Woot!
The filling should be made ahead of time; maybe a few hours before preparing the actual muffins to allow it to thicken.

INGREDIENTS

Strawberry filling:
1 and 1/2 cups strawberries

1/4 cup chia seeds

Muffins:
3/4 cup coconut flour

1/4 cup protein powder (preferably in a vanilla flavor)

1 tsp baking soda

2 tsp baking powder

3 tbsp agar powder

1/2 cup dry sweetener (or stevia, about 2-3 packets)

1 cup applesauce

1 cup non-dairy milk (i used coconut)

1/2 cup + 3 tbsp water

2 tsp vanilla extract

DIRECTIONS
First make the strawberry jam:
1. Puree the strawberries until they are liquid.

2. Heat it up in the conventional oven for 10 minutes at 300 F.

3. Pour the strawberry puree into a bowl and mix the chia seeds into it.

4. Let it sit, covered, in the fridge for a few hours, or until the chia has jelled.

For the muffins:
1. Preheat the oven to 350 F.

2. Mix all wet ingredients in a bowl.

3. Mix all dry in another bowl.

4. Pour wet over dry and mix to combine.

5. Line a muffin tin with liners and spoon batter into each muffin.

Narrow out an opening in the middle of each with the back of a spoon.
Reserve some batter for later.

6. Spoon about a tablespoon of the strawberry jam into each of the muffins.

7. Take a bit of the remaining batter and cover the jam completely.

8. Bake for 30-35 minutes.

20130425-183816.jpg

Beet hummus

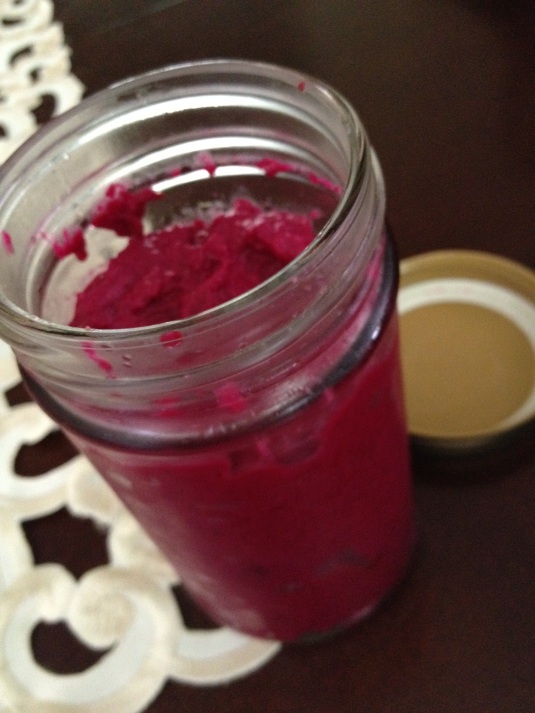
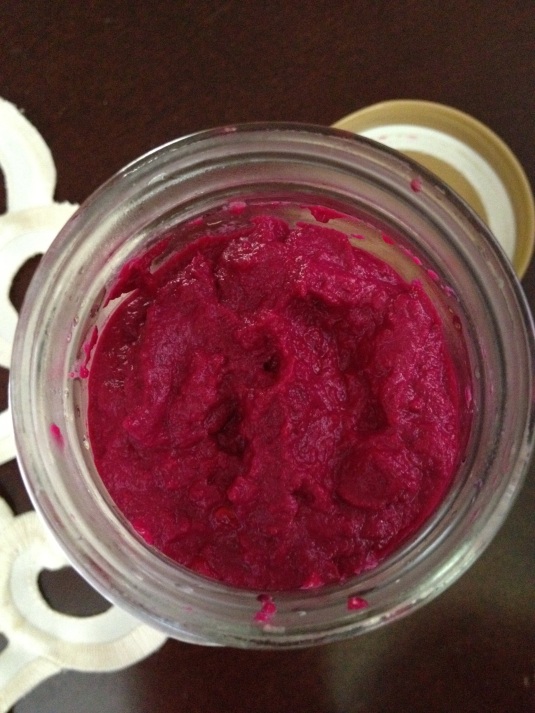
I had a bunch of beets that were beginning to go soft, so i decided to boil them.
They looked boring all plain, so I mashed them and followed a recipe I found on Key Ingredient to make them more appetizing.
Here’s what I put in:

Ingredients:
3 medium-sized beets

2 tbsp tahini

4 tbsp lemon juice

1 garlic clove, crushed

1 tbsp ground cumin

Salt and pepper, to taste

Now, all you need to do is blend everything together and you’re done!
They taste great on cucumber or lettuce leaves as a snack

20130425-175714.jpg

20130425-175726.jpg

Previous Older Entries